What is Server Monitoring?

Server Performance Monitoring

What is Server Monitoring?

Server monitoring is a critical aspect of maintaining and optimizing server performance. In this comprehensive guide, we will delve into the intricacies of Server Monitoring, its importance, and best practices.

Today’s digital world depends so much on internet services and applications that server performance is essential to guaranteeing a smooth user experience. Servers are hardware (or more often now applications) that handle and store data that is requested by other devices, software, or users. Hundreds or perhaps thousands of requests may be handled concurrently by a single server. Therefore, a crucial component of IT infrastructure management is making sure that every server in an organization is functioning as it should.

Server monitoring is a critical aspect of maintaining and optimizing server performance, ensuring that servers can handle the expected load and operate efficiently. In this comprehensive guide, we will delve into the intricacies of server monitoring, its importance, and best practices.

What is Server Monitoring?

The procedure of constantly examining and evaluating server performance indicators to guarantee that the server is operating effectively and smoothly is known as server monitoring. It involves monitoring several metrics, including response times, network traffic, disk I/O, CPU, and memory utilization. Server monitoring tools collect, store, and analyze this data, providing valuable insights into the server’s health and performance.

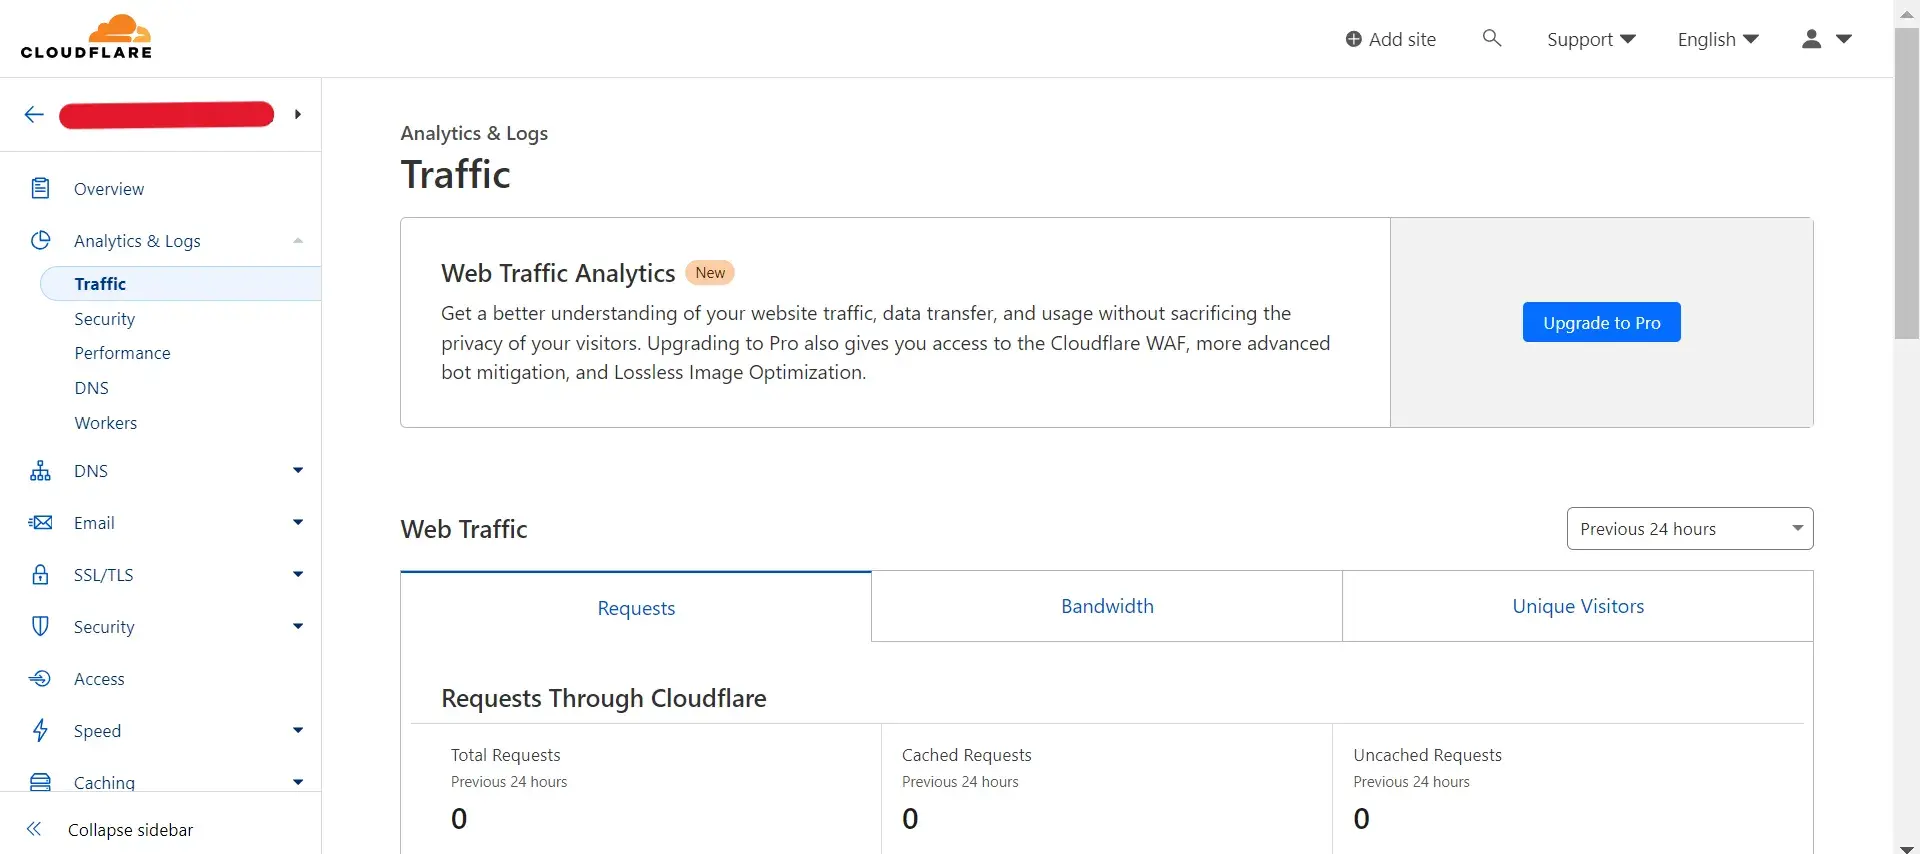
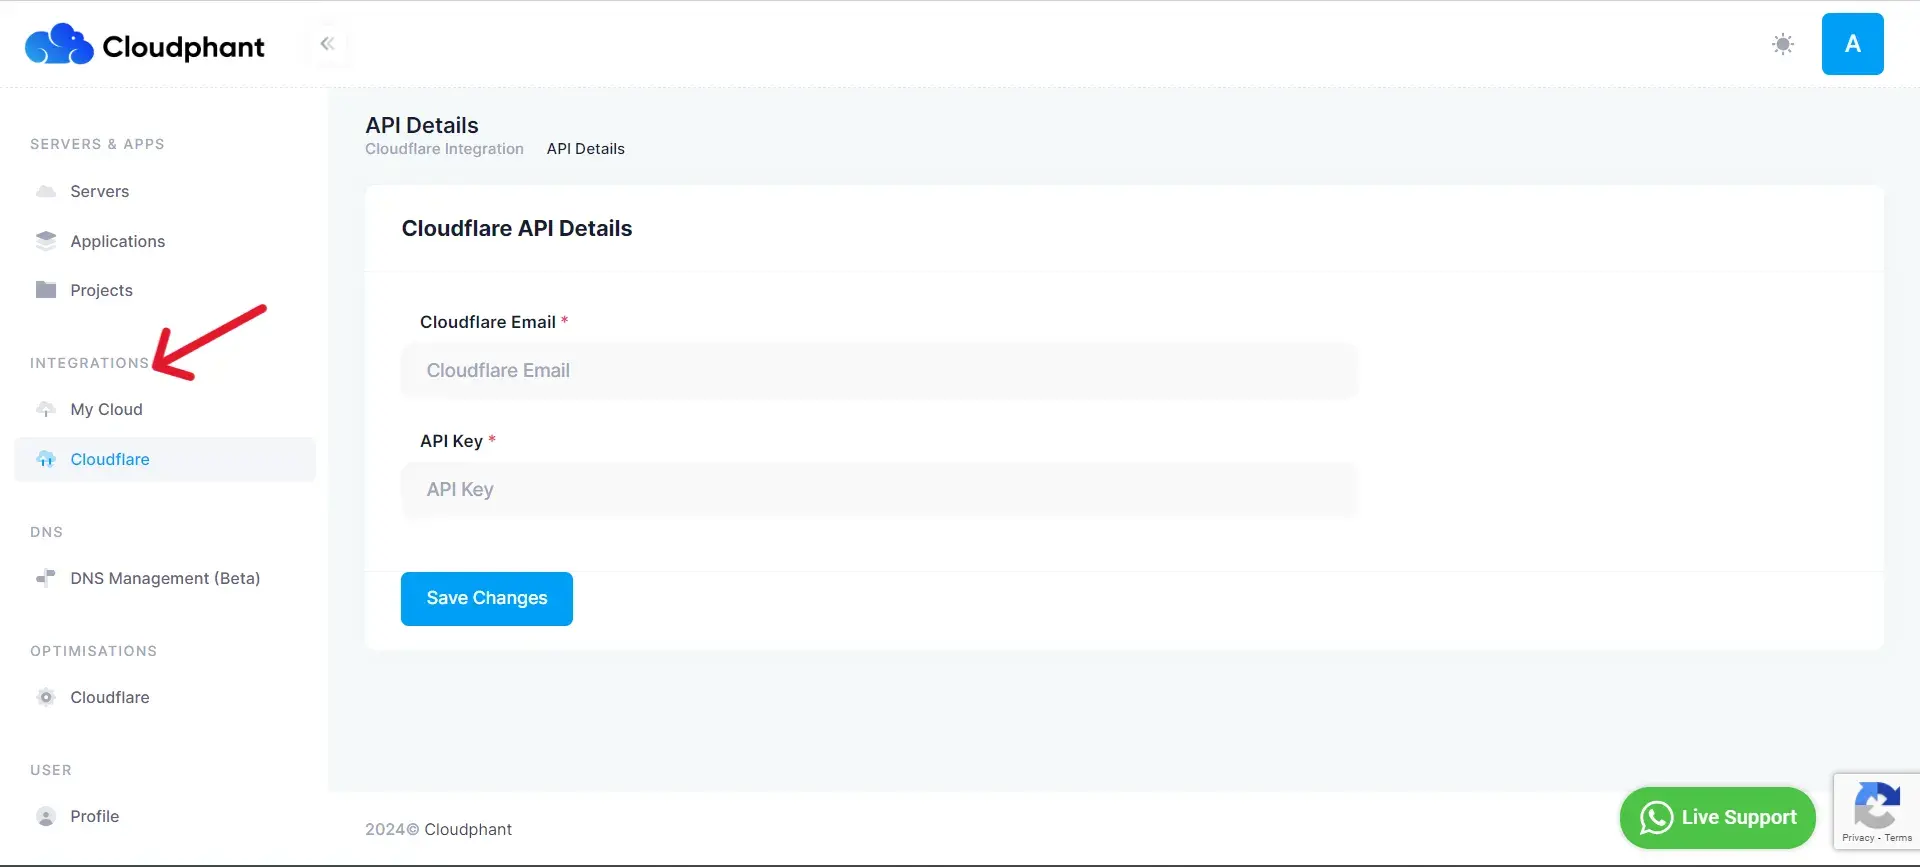
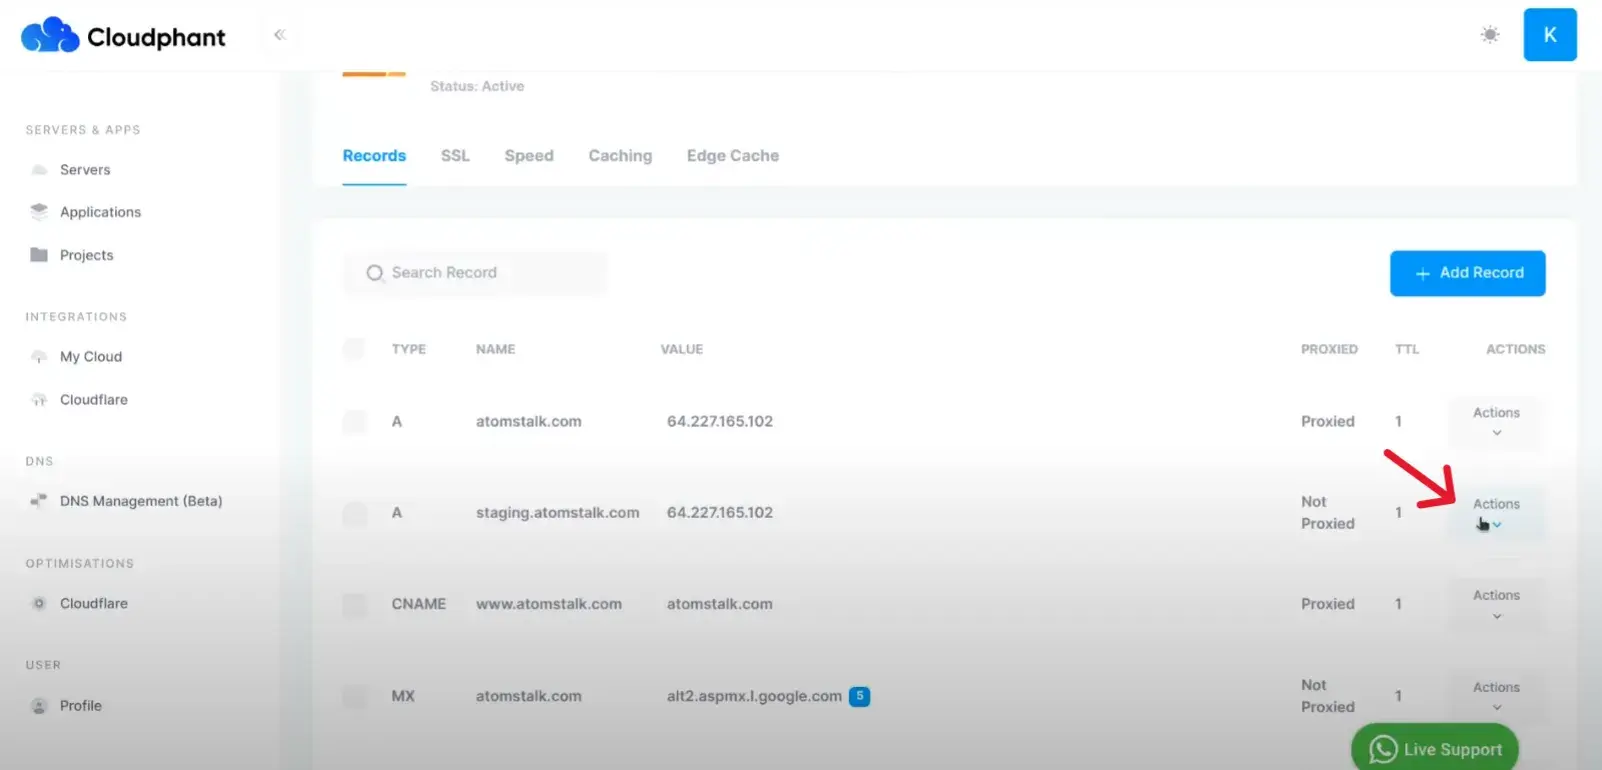
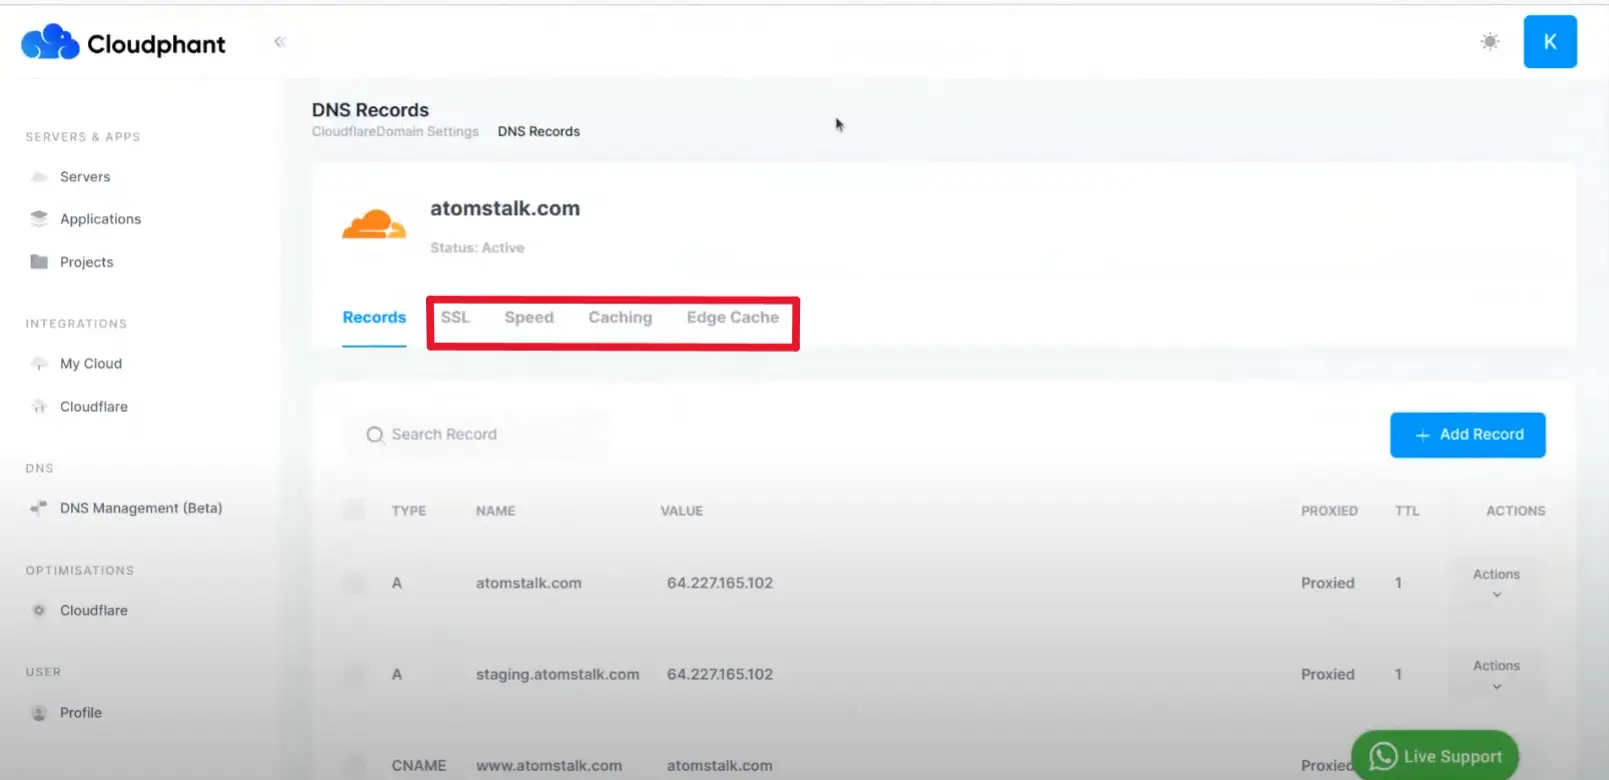
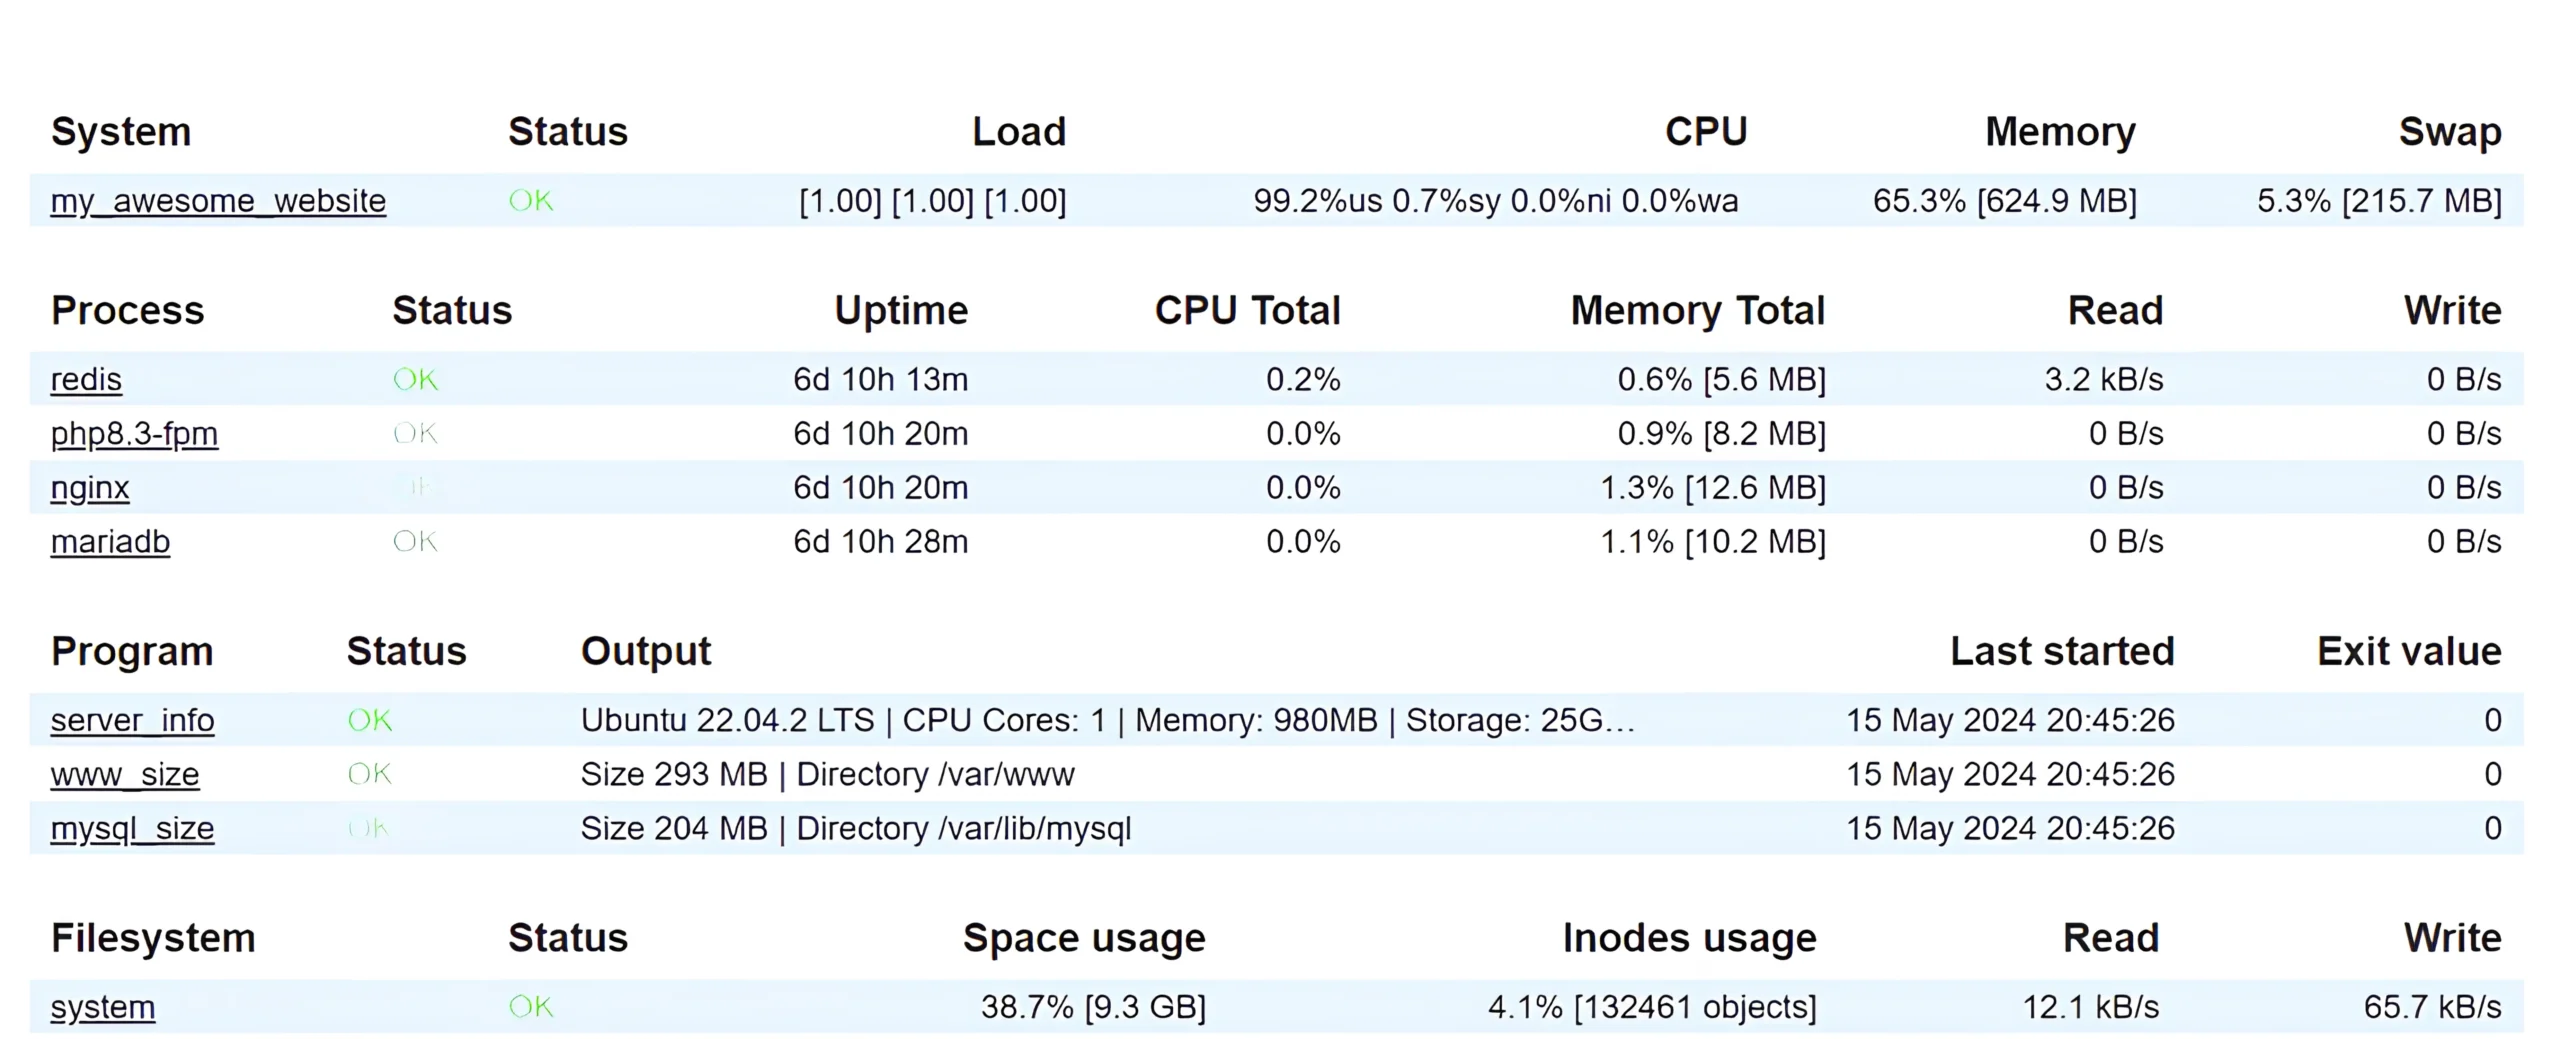
We here at Cloudphant offer you a fully productive dashboard from where you can easily monitor all this, and more very easily and take measures to guarantee optimal performance of your servers. This makes us the go-to choice of WordPress websites to host their servers.   

Cloudphant Server Monitoring Dashboard

Importance of Server Monitoring:

  1. Identifying Performance Issues: Server monitoring helps in identifying performance bottlenecks and issues such as high CPU usage, memory leaks, or network congestion. Early detection allows for timely resolution, minimizing downtime, and ensuring uninterrupted service.
  2. Optimizing Resource Utilization:  Administrators can find and distribute underused resources more effectively by keeping an eye on server performance indicators. This improvement lowers expenses and enhances server performance generally.
  3. Capacity Planning: Server monitoring provides insights into the server’s capacity and performance limits. This information is crucial for capacity planning, ensuring that the server can handle expected loads without performance degradation.
  4. Proactive Maintenance: By monitoring, possible problems may be recognized and fixed before they become serious ones. Reliability and stability of the server environment are maintained in part by this proactive strategy.
  5. Enhancing User Experience: Slow-loading websites or applications often leads to frustrated end users, who may leave and never return. Being proactive helps you provide a faster, smoother experience for customers. By ensuring optimal server performance, businesses can provide a better user experience, leading to increased customer satisfaction and loyalty.
  6. Enhanced Security: Monitoring server performance is crucial for detecting any abnormal patterns or activities that could potentially signal security breaches or attempted attacks. Ensuring the security of customer data and maintaining trust requires the detection and identification of potential cyber threats.

Difference Between Server Monitoring and Server Performance Monitoring:

Although tracking and evaluating server metrics is a component of both server monitoring and server performance monitoring, there are several significant differences between the two:

  • Server Monitoring: 

Server monitoring is a broad term that refers to the overall process of observing and managing a server’s health and availability. It involves monitoring various aspects of the server, such as:

  • Availability: Checking if the server is up and running.
  • Resource Usage: Monitoring CPU, memory, disk space, and network usage.
  • Service Health: Ensuring that critical services are running smoothly.
  • Security: Monitoring for any unauthorized access or potential security breaches.
  •  Logs and Events: Keeping track of system logs and events for troubleshooting and auditing purposes.

Server monitoring is more focused on ensuring the server’s basic functionality and availability rather than its performance under load.

Monit Server Monitoring Dashboard

  • Server Performance Monitoring:

On the other hand, server performance monitoring is a subset of server monitoring that specifically focuses on tracking and analyzing server performance metrics. It involves monitoring metrics such as:

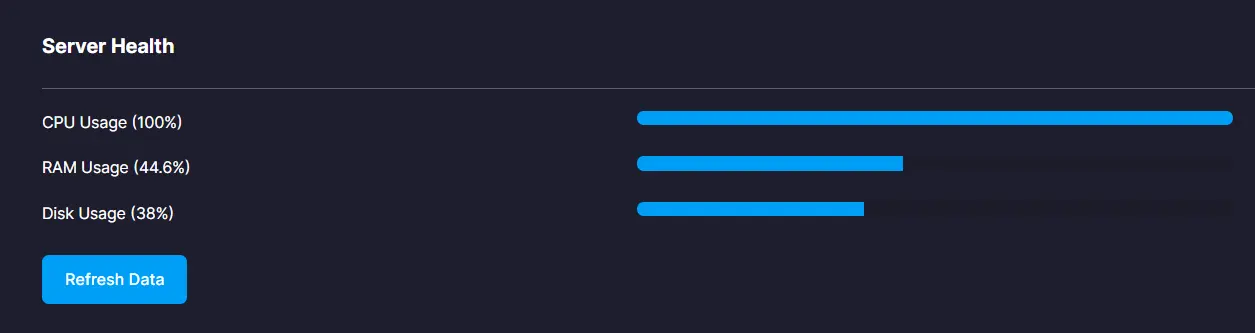
  •  CPU Usage: The percentage of CPU resources being utilized.
  •  Memory Usage: The amount of memory being used by the server.
  •  Disk I/O: Input/output operations per second on the disk.
  •  Network Traffic: The amount of data being sent and received over the network.
  •  Response Times: The time taken for the server to respond to requests.

Server performance monitoring is more concerned with how well the server is performing under various conditions and loads. It helps in identifying performance bottlenecks, optimizing resource usage, and improving overall server efficiency.

Key Differences:

  1.  Scope: Server monitoring is broader in scope, covering the overall health and availability of the server, while server performance monitoring is more focused on performance metrics.
  2.  Objective:  The goal of server performance monitoring is to maximize server performance and efficiency; the goal of server monitoring is to make sure the server is up and running and that its services are available.
  3.  Metrics: Server monitoring includes availability, resource usage, and security metrics, while server performance monitoring focuses on performance-related metrics such as CPU, memory, disk I/O, and network usage.

Although, Server monitoring is essential for ensuring the basic functionality and availability of a server, server performance monitoring is crucial for optimizing server performance and efficiency under various conditions and loads. Both types of monitoring are important components of a comprehensive server management strategy.

How to Monitor Server Performance?

Monitoring server performance involves the following steps:

Step 1: Selecting the Right Monitoring Tools: There are various server monitoring tools available, ranging from open-source to commercial solutions. It’s important to choose a tool that meets your specific requirements in terms of features, scalability, and ease of use. Some popular server monitoring tools include Nagios, Zabbix, Prometheus, and Datadog.

Step 2: Defining Key Performance Metrics: Identify the key performance metrics that are relevant to your server environment. These metrics typically include CPU usage, memory usage, disk I/O, network traffic, and response times. These metrics will serve as the basis for monitoring and analysis.

Step 3: Setting up Monitoring Agents: Install monitoring agents on the servers to collect performance data. These agents periodically send the data to the monitoring tool for analysis. The agents should be lightweight and efficient to minimize resource overhead on the server.

Step 4: Configuring Alerts: Set up alerts based on predefined thresholds for key performance metrics. Alerts notify administrators of any issues or anomalies, allowing for timely action. Alerts can be configured to be sent via email, SMS, or through the monitoring tool’s dashboard.

Step 5: Analyzing Performance Data: Regularly analyze the performance data collected by the monitoring tool to identify trends, patterns, and potential issues. Use this analysis to optimize server performance and address any underlying problems. Most monitoring tools provide dashboards and reports to help visualize and analyze performance data.

Step 6: Capacity Planning: Use the performance data to forecast future resource requirements and plan for capacity upgrades or optimizations accordingly. By understanding the server’s capacity and performance limits, you can ensure that it can handle expected loads without performance degradation.

Step 7: Implementing Continuous Monitoring: Server performance can vary over time due to changes in the server environment or workload. Implementing continuous monitoring ensures that you can quickly identify and address any performance issues that arise. Regularly review and adjust monitoring thresholds and configurations as needed.

Step 8: Integrating with Other Systems: Consider integrating your server monitoring tool with other systems such as IT ticketing systems, configuration management tools, and automation frameworks. This integration can help streamline processes and improve overall efficiency in managing server performance.

Best Practices for Server Performance Monitoring:

  • Establish Performance Baselines: Determine the normal operating parameters for your servers by establishing performance baselines during periods of typical workloads. This will help identify deviations from expected behavior and facilitate proactive troubleshooting.
  • Define Monitoring Thresholds: Set appropriate thresholds for critical performance metrics, such as CPU utilization, memory usage, and disk space. These thresholds should trigger alerts when exceeded, enabling prompt investigation and remediation.
  • Implement Alerting and Notification Systems: Configure alerting mechanisms to notify the appropriate personnel or teams when performance issues or outages occur. Effective alerting systems ensure timely response and mitigation efforts.
  • Correlate Data from Multiple Sources: Integrate data from various monitoring sources, including system logs, application logs, and network monitoring tools. Correlating data from multiple sources can provide a comprehensive view of system performance and aid in root cause analysis.
  • Automate Monitoring and Reporting: Leverage automation tools to streamline monitoring processes, such as data collection, analysis, and reporting. Automated monitoring reduces the risk of human error and ensures consistent and timely monitoring.
  • Regularly Review and Optimize: Regularly review monitoring configurations, thresholds, and alerts to ensure they align with evolving business requirements and changing workloads. Optimize monitoring strategies based on historical data and lessons learned.
  • Implement Capacity Planning: Utilize historical performance data and trend analysis to anticipate future resource requirements and plan for capacity adjustments or hardware upgrades in advance.
  • Foster Collaboration and Knowledge Sharing: Encourage collaboration and knowledge sharing among IT teams, developers, and stakeholders. Regular communication and cross-functional understanding can lead to more effective monitoring strategies and faster issue resolution.

End Note: 

Establishing an efficient and dependable server environment requires server performance monitoring. Strong monitoring techniques allow companies to reduce downtime, proactively spot and fix possible problems, and maintain a high service standard for their users or clients. Continuously monitoring server performance, adhering to best practices, and leveraging the right tools and techniques are crucial for maintaining a competitive edge and delivering exceptional digital experiences.

Recent Post

What is Server Monitoring?

What is Server Monitoring?

What is Server Monitoring? Server monitoring is…

Cloudflare for WordPress – A Beginners Guide

Cloudflare for WordPress – A Beginners…

Cloudflare for WordPress: the complete beginners guide…

Using the rsync Command in Linux

Using the rsync Command in Linux

The rsync command is a powerful tool…

Cloudflare for WordPress – A Beginners Guide

Cloudflare for WordPress: the complete beginners guide

Exploring the benefits of Cloudflare is an excellent method to improve the performance and security of your website. Cloudflare’s top-notch features accelerate your site while also protecting it from numerous web attacks. Let’s look at the primary benefits and how Cloudflare may improve your online visibility. 

Imagine you’re running a business website that attracts customers from around the world. You want your website to be fast, secure from hackers, and always available, even if there’s a sudden surge in visitors.

Cloudflare helps you achieve this. It acts as a protective and efficient middleman (aka proxy) between your website and its visitors. Cloudflare stores copies of your website (aka caching) in multiple locations globally, so it loads quickly for anyone, anywhere. It also filters out malicious traffic to prevent attacks, ensuring your website is safe and accessible to your real customers at all times.

We’ll understand how Cloudflare does this and how to implement it for your own WordPress website in the following article.

What is Cloudflare?

Cloudflare is the popular “reverse proxy” and “content delivery network (CDN)” for WordPress.  Let us quickly understand what do these terms mean and how are they related to Cloudflare.

At the base is Reverse Proxy, a server that forwards requests from clients to other servers (the origin servers where the websites are hosted) and returns responses to the clients. It can provide additional features like load balancing, security, and caching. 

A step above is Content Delivery Networks or CDNs, a network of reverse proxy servers distributed globally. As discussed briefly in the introduction, a CDN’s main goal is to store copies of your site’s static content on its distributed server network. Now when someone accesses your site from halfway around the world, the request is routed to the nearest feasible CDN server and not your original website server, lowering latency and providing information faster. 

And finally, Cloudflare integrates both these technologies into a comprehensive web performance and security service. It offers a CDN to cache and deliver content quickly across the globe. As a reverse proxy, it also provides security services like DDoS protection and traffic filtering.

How to Setup Cloudflare on your WordPress website?

Now that we have understood the basics of Cloudflare let us figure out how to setup Cloudflare on your website. There are three methods you can use:

  • Using Cloudflare Console: Hard to setup and manage
  • Using Cloudflare Plugin: Easy to setup, but hard to manage
  • Using Cloudphant: Easy to setup and manage

Setup using Cloudflare console

Sign-up for your Cloudflare account

  • Fill out the required fields, including your email address and a strong password.
  • Check your email inbox for a verification email from Cloudflare.
  • Click on the verification link provided in the email to confirm your account.
  • Complete any additional steps prompted by Cloudflare for account setup, such as setting up two-factor authentication if desired.
  • Once your account is verified, log in to your Cloudflare account using your credentials.

Add your website to your Cloudflare account

  • After logging in to your Cloudflare account, you’ll be directed to your dashboard.
  • Click on the “Add a Site” button located in the top right corner of the dashboard.
  • Enter your WordPress site’s domain name (e.g., www.yourwordpresssite.com)
  • Click on the “Begin Scan” button to allow Cloudflare to scan your existing DNS records.
  • Follow the on-screen instructions provided by Cloudflare to complete the scanning process.
  • Once the scan is complete, Cloudflare will display a summary of your DNS records

Configure DNS Settings

  • Cloudflare will provide you with new name servers for your domain.
  • Log in to your domain registrar’s website (where you purchased your domain).
  • Locate the DNS settings or nameservers section within your domain registrar’s control panel.
  • Replace your current nameservers with the ones provided by Cloudflare. It may take some time (usually up to 48 hours) for the DNS changes to propagate across the internet.
  • Once the DNS changes have propagated, all traffic to your domain will be routed through Cloudflare for optimized performance and security

SSL Configuration

  • In your Cloudflare dashboard, navigate to the SSL/TLS section.
  • Choose the SSL/TLS encryption level that suits your WordPress site’s needs (e.g., Flexible, Full, Full (Strict))
  • Ensure that SSL/TLS encryption is enabled to secure data transmission between your server and visitors, positively impacting SEO rankings
 

Fine Tune Cloudflare settings:

  • Explore Cloudflare’s dashboard to customize settings tailored to your WordPress site’s needs
  • Adjust settings such as caching, firewall rules, and threat control to optimize performance and security.
  • Experiment with different configurations to find the best setup for your WordPress site
We’ve encountered a few problems with this approach. You end up having another dashboard to maintain and track. Also, Cloudflare has many features not all which might be useful for your WordPress website. This just complicates your website management even further and is not recommeded if you are an absolute beginner or have to multiple clients and websites to manage.   

Setup using Cloudflare plugin

Install and activate Cloudflare plugin

  • Visit the WordPress plugin repository and install the Cloudflare plugin
  • Activate the plugin and navigate to Settings > Cloudflare 
  • Next you will either need to sign-up to your existing Cloudflare account or create a new account. Let us try to create a new account. 
  • You’ll need to enter your email address, password and website address in the next step.
  • Next Cloudflare will ask you to choose a plan. We’ll stick to the free plan. 
  • Next Cloudflare will check all DNS record for that domain name. Scroll to the bottom and click on Continue.
  • Now like in the previous method you will need to replace your current name servers with the ones provided by Cloudflare. Click “Check Name Server” 
  • For your SSL/TLS encryption select “Full mode”. Select “On” on Always Use HTTPS option. Auto Minify HTML, CSS and JS and Switch on Brotli compression. Select Done.
  • Please ensure that none of these option are activated using another plugin as that could cause a conflict and break your website.
  • Now close the pop-up window and go back to the Cloudflare option on your WordPress dashboard. Click login.
  • You will be asked to enter your Cloudflare email id and API key. You can find the API key on your Cloudflare dashboard.
  • Next you can quickly apply the recommend settings and Turn on the Automatic Platform Optimization if you are on a paid Cloudflare plan.

This is the most commonly used approach. But like every other plugin this create a management overhead. 

You will need to ensure the Cloudflare plugin settings do not conflict with other plugins. You need to make sure that the plugin is update constantly and that those updates are compatible with the rest of your website code. To solve these issue we highly recommend using Zero Plugin Cloudflare Optimization from Cloudphant platform. 

Setup using Cloudphant platform

Cloudphant is a WordPress optimization platform that helps you increase your website performance without using any plugins. All optimization like caching, image compression, minification etc. are applied at the server and network level decrease any load on the website. 

Integrate your Cloudflare with Cloudphant

  • To setup Cloudflare with Cloudphant, you will first need to sign in to your Cloudphant account.
  • Next, on the left menu bar select Cloudflare under integrations.
  • You will asked to enter your Cloudflare email id and API key.
  • Next, on the left menu bar select Cloudflare under optimisations
  • Select Add Domain and enter you website address. 
  • You should see a screen as below. Go to the actions menu under DNS records and choose Add/Edit record
  • Toggle the proxy and click submit. You’re done!
  • See how easy it is to install Cloudflare CDN on your website with just a few clicks. Out of all the settings Cloudflare offers we’ve filtered out the handful that are useful for WordPress
  • You can easily configure and experiment with them on your site without any hassle.
 You can also easily monitor your websites performance due to activating Cloudflare on Cloudphant Analytics Dashboard. Or by using popular tools like GTMetrix and Google Page Insights. 

Conclusion

Overall we highly recommend using Cloudflare for your WordPress website. And hence we’ve deeply integrated their technology into our platform and customer wesbites. If your budget permits our recommendation is to go for $5 per month paid plan of Cloudflare. 

While there are many options of CDNs, the reach, support and cost offered by Cloudflare continues to be the best in the industry. Which is why as of 2024 Cloudflare is used by over 7.5 Million websites globally, including 30% of Fortune 1000 organisation.

Recent Post

What is Server Monitoring?

What is Server Monitoring?

What is Server Monitoring? Server monitoring…

Cloudflare for WordPress – A Beginners Guide

Cloudflare for WordPress – A Beginners Guide

Cloudflare for WordPress: the complete beginners…

Using the rsync Command in Linux

Using the rsync Command in Linux

The rsync command is a powerful…

9 Top WordPress Backup Plugins

9 Top WordPress Backup Plugins

9 Top WordPress Backup Plugins

Tired of searching for the best WordPress backup plugin and getting nothing? Not to worry as today, we are going to talk about the top 9 WordPress backup plugins that you need to try in 2022.

Tired of searching for the best WordPress backup plugin and getting nothing? Not to worry as today, we are going to talk about the top 9 WordPress backup plugins that you need to try in 2022. 

Safeguarding the website is one of the top-most things on everyone’s priority list. However, it is not as easy as it looks. You are required to get a WordPress backup plugin that matches your requirement, and for that, there are many factors to consider.

Getting the exemplary backup plugin will not only save your hard work from going in vain but will also offer you various functionalities and elements that we’re going to discuss here. So let’s take a roll into it. 

As you understand the significance of choosing the right WordPress backup plugin for your website, we have curated this list with our experience and in-depth research. Hence, without wasting the time further, let us jump to the list straight. 

BlogVault 

Starting the list of best WordPress backup plugins with one of the fastest plugins, BlogVault is certainly one of the most relied plugins among all. With over 1 million plus website restorations, and 4,50,000 website backups, it has managed to be on the list of favourites for everyone. It is more like a service (SaaS) solution than just a plugin. 

With BlogVault, it is straightforward to create offsite backups on the server so that there will be no load on your server. Along with coming with a free staging environment, it also allows you to create a clone of your live website in a single tap (no hassle) for various testing purposes. Talking about its UI, it surely is suitable for a non-tech user. 

In addition, you will also be able to store your 90-day backup archive efficiently on lower plans while for the year back, you need to opt for the higher plan. If in case you wish to migrate your website to another host, BlogVault offers you an easy service without any additional charges for the same.

Features

  • 90 days backup, extendable to a year
  • 1 tap restores available
  • Unlimited offsite backup storage provided
  • Built-in migration abilities
  • Emergency connector available
  • Auto updates available
  • Real-time backups for WooCommerce

Pros

  • No extra charges for extra offsite storage
  • Friendly UI 
  • 100% restore rate provided
  • No load along with incremental backups
  • Multisite support

Cons

  • No free version is available

Paid or not?- You will have to pay $89 per year for the basic plan. However, for the advanced plan, the pricing will be $249 per year.

Suitable for?- WooCommerce stores and large backup websites

Jetpack backups

Jetpack backup is known for having one of the most well-organized dashboards that come with security performance, site stats and timely backups. When it comes to the list of free WordPress backup plugins, it is considered at the top list with over 5 million active installs. 

The plugin offers easy to restore in one tap along with real-time automatic backup. Other than unlimited storage, you will be offered spam protection and malware scanning in their services. The 30-day backup archive is also offered without any additional charges.

 When it comes to the restoring process, the plugin seems to be seamless as its process is convenient and swift. It also makes the monitoring process easy by logging all the changes to apprehend why the website broke and how to prevent it from the same.

Features 

  • Incremental backups provided
  • Image optimisation feature
  • Offsite storage
  • Reliable backups
  • One-tap automatic restore
  • Uptime monitoring

Pros

  • Brute force protection
  • Trusted backups provided

Cons

  • Multisite support not available
  • Free plans with no backup
  • Partial backups provided
  • Only 30 days of backup with most of the paid plans

Paid or not?- Even though there’s a free version available, if you’re up for a premium plan, you need to pay $85 per year.

Suitable for?- Small websites and WooCommerce store and real-time backups

BackWPup

If you’re someone who prefers saving your WordPress backup to any remote location such as Amazon S3, Google Drive, Rackspace, FTT and more, BackWPup is the WordPress plugin that you should look for. Currently leading with over 600,000 customers, this plugin lets you back up your content to any place as per your feasibility. 

Talking about the features it offers, with this plugin, you will be able to download any zip file of your backed-up content and restore the installation. Also, it will check your database and repair it if required. While there are plenty of features even for the free version users, their backups will not be encrypted or secured which surely makes it quite difficult.

 Although the premium version will encrypt your backup files, it comes with a fair fee that you need to pay. 

Features

  • Fully supports GDRP
  • Automatic scheduled backups
  • Auto restore is available (Only in the premium version)
  • Complete WordPress XML export available
  • Stores backup to any preferred place 

Pros

  • Timely check and repair of databases
  • Offsite backups
  • Complete/ partial backups provided
  • Encryption backup in the premium plan

Cons

  • No security of the database for a free version
  • No restore provided
  • UI isn’t clear

Paid or not?- If you want to use the free version, you will not be able to encrypt your database while for the encrypted database, premium plan pricing starts from $69 per year for a standard plan.

Suitable for?- Encrypted backups

Updraft Plus

Updraft Plus is one of the easiest WordPress plugins we’ve ever come across. With the help of this plugin, not only one can easily restore and take backup of files but can also save them into any of the cloud storage such as Google Drive, Amazon S3, Dropbox, email, etc. It is quite an easy job to set up the schedule due to the friendly UI.

 Also, you can witness a super fast speed as it uses very less server resources. Also, migrating your website will become a matter of seconds. Other than taking a backup of the WordPress website, users can also restore backups straight via the WordPress admin panel through Updraft Plus.

 It comes with a paid version where you will also get priority support and add-ons for cloning the website. Other services such as migration, database search, multi-site support, replace will also be included.

Features

  • Single tap restores
  • Extendable offsite storage
  • Manual and automatic backups available
  • Integrated staging site
  • Incremental backups
  • Database encryption

Pros

  • Backups can be customized
  • Easy integration
  • The external dashboard is free for 5 sites
  • Advanced Reporting 
  • Priority support

Cons

  • Restoration isn’t trusted or recommended for more than 200MB
  • For WooCommerce-no real-time backup provided
  • Offsite storage with additional cost

Paid or not?- The plugin is available for free of cost with limited features. However, for additional ones, the personal plan starts at $70 per year with 1GB of storage.

Suitable for?- Small websites under 1 GB

Backup Buddy

Backup Buddy is said to be one of the premium WordPress plugins that deserves to be on this list. As the name suggests, it backs up everything, be it your theme, plugins, media library or database backup. One can set up the backup either weekly, daily or monthly at their convenience.

 For storing the backup, you can select any cloud storage service such as Rackspace, Dropbox, Amazon S3, FTP or even Stash which is their own cloud service. Also, you can mail it to yourself as well. Note- In fact, you can even download the zip file and store it with you. If you choose to use their cloud service, Stash, real-time backups can be done. 

This plugin, on the other hand also offers services such as email notification and a tool called ImportBuddy which will come in handy if you face an issue while taking a backup. One of the things that we liked about the plugin is the fact that it comes with no monthly fee or subscription and thus, you can use multiple websites with the plugin. The plugin can be used to migrate, restore and duplicate the websites and along with that, it also has that iThemes sync feature via which one can add up to 10 WordPress websites in a single dashboard. Backup Buddy also offers a premium support forum, 1GB Stash storage and regular timely updates as their services.

Features

  • Automatic restore in a single tap
  • Complete and partial backups provided
  • Hourly backups available
  • On-demand backup

Pros

  • Incremental backup with Stash
  • The database can be stored with cloud services
  • Friendly UI
  • Offsite backup available

Cons

  • Complex restores for a larger site
  • Metered offsite backup storage 

Paid or not?- It starts at $80 per year with 1GB of storage.

Suitable for? Backing up the whole website

Duplicator 

Duplicator is quite a decent WordPress Plugin to use for migrating your website and taking backups. Although this plugin comes with fewer features unlike others in the list, you can also take hourly partial or complete backups and schedule them. 

Other than that, the plugin can also create all your site’s themes, content, database, files, plugins and content zip files for your ease and this can easily be downloaded or migrated to any place of your choice. In a nutshell, it is fair to say that with Duplicator, you can clone, move or migrate your WordPress website between hosts or domains without any interruptions. 

However, please note that this plugin is not preferable for someone with a non-technical background as you would require time and knowledge to work with. Thus, it is not suitable for someone looking for a plugin which has comes with a friendly interface.

Features

  • Complete and partial backups are available
  • Can schedule automatic backups
  • Migration and cloning can be done.

Pros

  • Well-integrated with cloud services

Cons

  • Manual restore is required.
  • Complex UI
  • No offsite storage given

Paid or not?- It comes with a free version but for the paid ones, you need to pay $69 per year.

Suitable for?- Backing up a website just before migration

Wpvivid backup Plugin

Yet another name in the list of best WordPress backup plugins with over 90,000 active installations is Wpvivid backup which comes with unique features along with all the basic ones such as unused image cleaner, automatic schedule backups, and easy restore. 

With the help of this unused image cleaner feature, the user can clean all those unused images before scheduling the backup. Not to forget, one can easily start by creating a basic staging site and later converting it into a live one. In addition, users will also get database encryption for that extra security. Backups can be scheduled daily, monthly and even weekly. 

Talking about the UI, it isn’t intuitive and thus, you are required to be a little technically sound to get your job done. For your remote storage of backups with cloud services, it is crucial to connect the account with the plugin so that it can be shown as an option there. 

Features

  • Multi-site backup offered
  • Auto backup for themes and plugins
  • Advanced remote storage
  • Performance features
  • Incremental backups

Pros

  • Migration capabilities
  • Multi-site support

Cons

  • Not suitable for high-traction websites
  • Complex UI

Paid or not? The plugin comes with a free version but for the paid ones, the plan starts from $49 per year. 

Suitable for? Optimizing images prior to backup

Backup guard

For anyone looking for a budget-friendly WordPress backup plugin, Backup guard is the one that fits the bill. It is by far one of the WP plugins with the easiest UI. Restoring and migration of your website can be done effortlessly as many times as you want.

 The plugin comes with a feature where you can restore some specific files and databases and can get a live progress report of the restore process as well.

 Other than that, downloading and importing the backed-up files can be done easily too and at any given point, if you wish to cancel the backup process, you can do that and there will be no data loss. Talking about the UI, it is fairly intuitive and organized and even beginners can operate it well.

Features 

  • Migration capabilities
  • Complete and partial backups
  • Automatic scheduled backups offered
  • Friendly UI

Pros

  • Reliable process
  • Intuitive interface
  • Integration with cloud services

Cons

  • No automatic restore
  • No real-time backup
  • No offsite storage

Paid or not?- The plugin offers a free version but for the additional features, paid feature pricing starts from $25 per year.

Suitable for?- Small websites for staging

BoldGrid Backup

Last but not least, another deserving contender in the list of best WordPress backup plugins is the BoldGrid Backup plugin which not only lets you restore and create your backup but can also move the website on your behalf. The plugin is quite flexible and thus, you either can create manual backups or schedule them for the automated ones. 

One quite interesting feature that it has is automated fault protection in which the plugin will create the backup automatically before every update. 

And if the update fails, it will roll back to the previous ones. The interface is easy and one can store up to 10 backup archives on the dashboard. In addition, it is also well integrated with cloud storage services. 

Features 

  • Partial and complete backup
  • Automated fault protection feature
  • Can store up to 10 backup archives
  • Additional tools will be provided

Pros

  • Automated backups 
  • Easy UI
  • Budget-friendly 

Cons

  • Not advanced 

Paid or not?- The plugin comes with a free trial version after which you need to enrol it for $30 per year.

Suitable for?- Budget-friendly options for migrating

Wrapping up,

Although all these WordPress backup plugins come with their own pros and cons, you surely can find the one suitable for your usage. We have tried including all important details related to the plugin, however, if you still have a doubt over the same, feel free to comment down and let us know. Our team will get back to you asap. Also, don’t forget to let us know your favourite WordPress backup plugin among the all listed above. 

Recent Post

What is Server Monitoring?

What is Server Monitoring?

What is Server Monitoring? Server monitoring is…

Cloudflare for WordPress – A Beginners Guide

Cloudflare for WordPress – A Beginners…

Cloudflare for WordPress: the complete beginners guide…

Using the rsync Command in Linux

Using the rsync Command in Linux

The rsync command is a powerful tool…